Give every vacancy a strong start
Bring rent, availability, photos and listing details together before you publish.
Keep the apartment, applicant and lease connected as a vacancy becomes someone's home. Bring your listing details, screening review and lease preparation into one rental workspace.
 THE PROPERTY AT THE CENTER
Bring rent, availability, photos and listing details together before you publish.
See screening status and review the underlying report for the apartment you are leasing.
Review residents, dates, charges and the complete agreement before moving to signatures.
Watch the walkthrough from the beginning or pick the chapter you need. It includes product screens and illustrations.
Step 1 of 3
Open the listing editor for the right apartment. Review rent, availability, photos and the description before publishing.
Publish and share a listing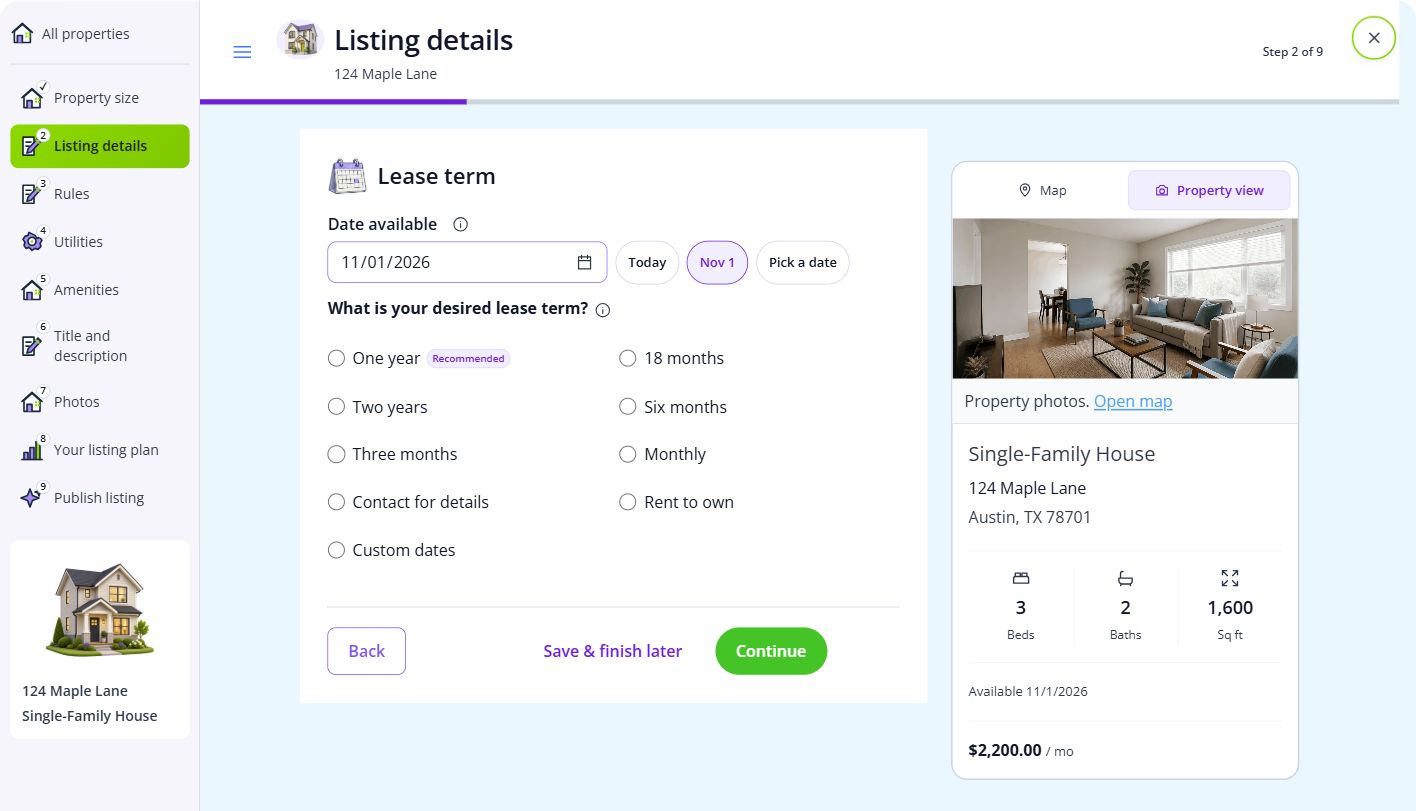
Step 2 of 3
Open the applicant’s screening record and check the report status. Read the underlying report before making your own decision.
Request and review screening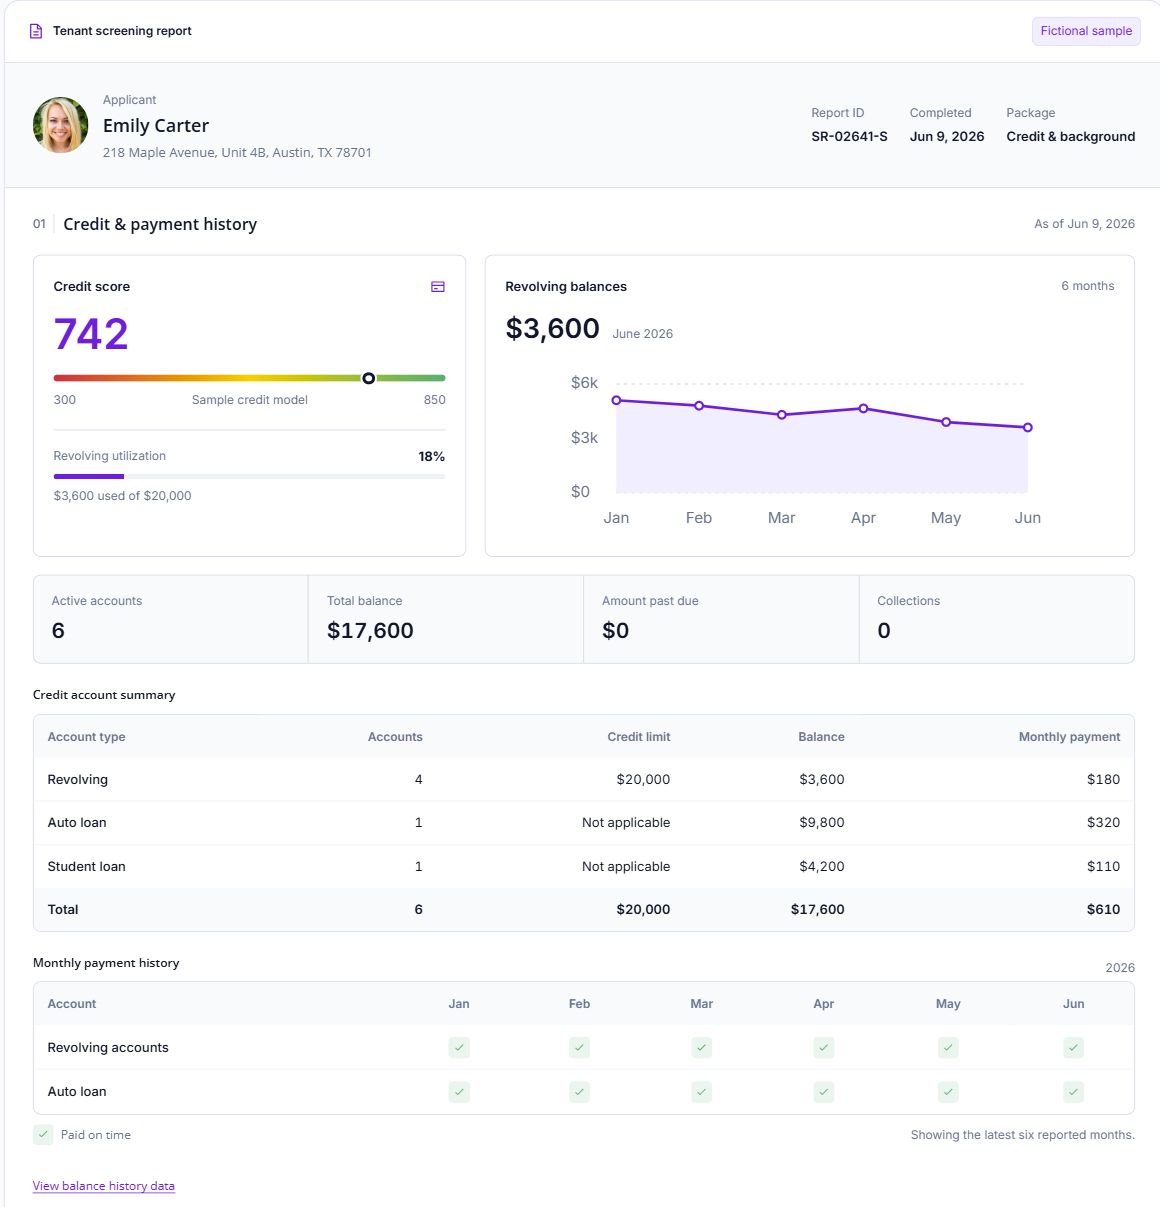
Step 3 of 3
Review the property, residents, dates and charges in the lease builder. Preview the complete agreement before moving to signatures.
Build a lease agreement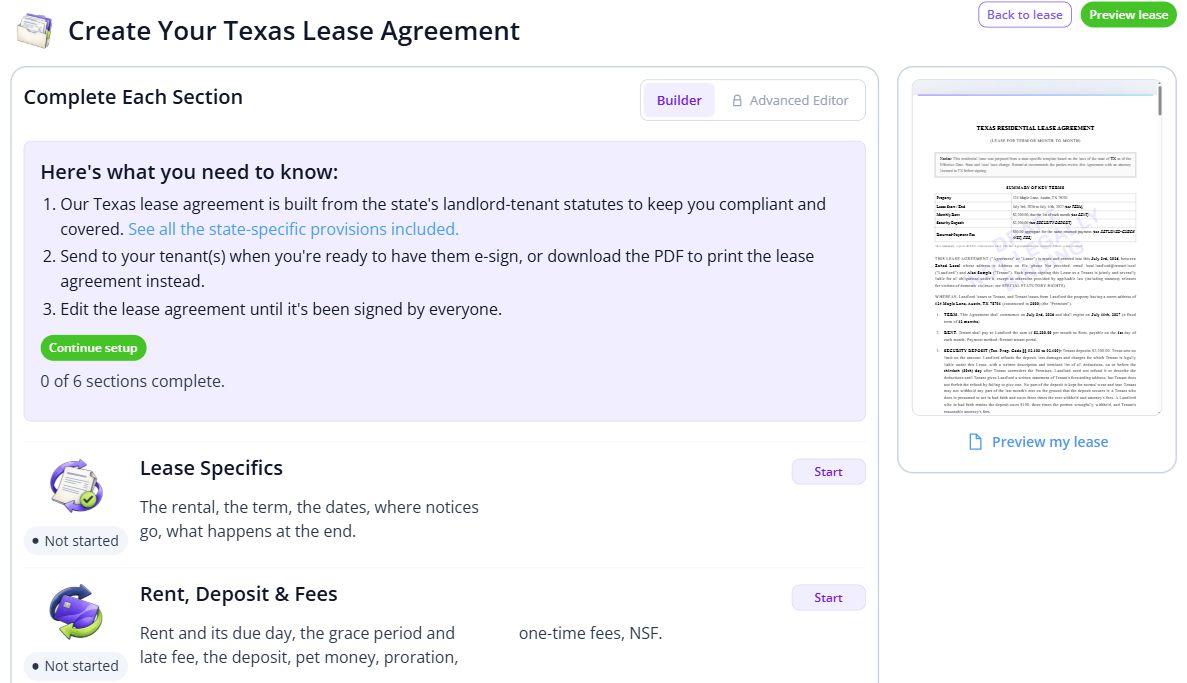

From the first apartment to the next move-in, make each household feel considered. Keep the records and everyday conversations connected, so the next person has the context they need.
For owners and teams managing apartment rentals who need the unit, applicant and lease records connected.
Explore the workspaceBring one vacant unit through listing, screening and lease review. Check team access and approval responsibilities before inviting everyone.
Discuss your requirementsHave these details ready: property and unit list; current rents and lease dates; vacancy photos and listing details.
 01
Add the property and units, then check their details before bringing in residents.
Property setup guide 02
Review the agreements, opening records and payment readiness for the first tenancy.
Review lease setup 03
Invite residents once the records are ready, and show them how to find rent, documents and repairs.
Tenant invitation guideOpen a step-by-step article with product guidance.
Yes. Add the property and its units, then work through one vacancy first. Use the same structure as you bring the rest of the building into Rentari.
Gather property and unit list, current rents and lease dates, vacancy photos and listing details. Start with one property, check the records, and then bring in the rest of your portfolio.
No. It uses product screens with sample data. Open the linked Help guides for the steps to follow in your own account.
Review the current pricing page for unit limits, included tools and any payment or screening fees. Check that the plan covers the tasks you do most often.
See plans and feesCompare plans for the properties you manage.