- Home
- Guide books
- Move-in guide
Move-in guide
Get people, paperwork and access ready, run move-in day and welcome the new residents.
Chapter 1 Move-In Readiness Checklist for People, Paperwork, and Access
A move-in checklist connects the lease file with what happens at the property. Use it alongside applicable requirements, not as a reason to delay lawful possession.
Work through the checklist
Use the download to keep your record.
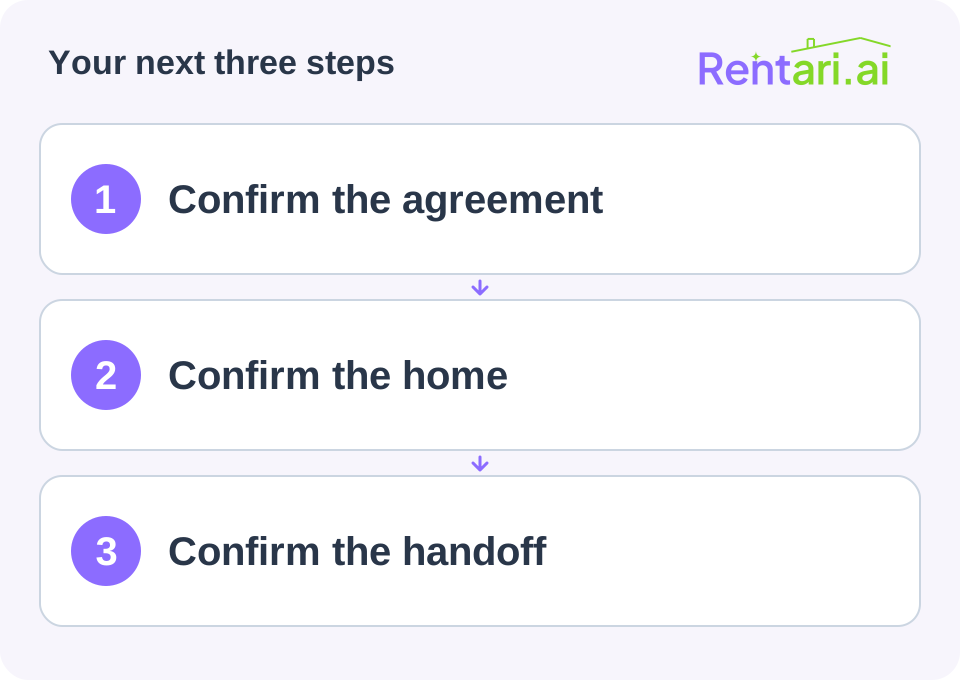
Check paperwork and records
Confirm the completed agreement and required disclosures, correct unit, effective dates, parties, and delivery of copies. Record actual payment status and any reviewed arrangements without relabeling pending funds as settled.
Confirm the condition-report process and how residents can report discrepancies.
Check the property
Verify agreed work, cleaning, keys or access devices, required safety checks, and utilities that your arrangement assigns to the owner. Mark an unresolved item with an owner and next action instead of hiding it behind a general ready label.
Do not make unqualified assurances about safety or compliance based only on appearance.
Check the resident handoff
Provide the full address and unit, appointment details, routine support channel, emergency instructions, and the agreed payment process. Include a workable alternative if digital access is unavailable.
Record what was delivered and when. After the handoff, confirm any outstanding action and its responsible person.
A useful final review asks: can the resident enter as agreed, find the correct documents, report a problem, and understand the next payment? Address any uncertainty before calling onboarding complete.
Keep your completed record
Save the worksheet with the supporting records and restrict access to people who need it. This blank organizer does not calculate a legal, tax, insurance, or eligibility decision.
Continue with a related task
Also online: Move-In Readiness Checklist for People, Paperwork, and Access
Chapter 2 Rental move-in day checklist for landlords
A smooth move-in day starts with the paperwork done before the keys change hands. Confirm the signed lease, cleared funds and required disclosures first, then walk the home with the renter and record its condition. A dated condition record now prevents deposit disputes later.
Before move-in day: paperwork and money
- Signed lease from every adult on it, with all addenda.
- First payment and deposit received and cleared, with receipts. Massachusetts, for example, requires a signed receipt when you take a deposit and, within 30 days, a second receipt naming the bank, the amount and the account number (Mass. G.L. c. 186, § 15B(2)(b); Mass. G.L. c. 186, § 15B(3)(a)).
- Proof of renters insurance, if your lease requires it.
- Utilities the renter will pay are set up in their name from the move-in date.
- Required disclosures are signed and on file.
Lead paint disclosure for older homes
For housing built before 1978, the EPA says that before the lease you must disclose known lead-based paint and lead hazards, provide available records and reports, give the renter the pamphlet Protect Your Family From Lead in Your Home, and include a Lead Warning Statement in or attached to the lease. Keep a signed copy of the disclosure for three years after the lease begins.
Exemptions include zero-bedroom units and housing for older adults or people with disabilities, unless a child under six lives or is expected to live there; leases of 100 days or less; and housing a certified inspector found free of lead-based paint.
Prepare the home
- Clean, finish repairs and check that every appliance works.
- Test smoke alarms. Texas requires you to test each smoke alarm when the tenant moves in (Tex. Prop. Code § 92.258).
- Rekey or change locks. Texas requires rekeying within seven days after each new tenant moves in, at your expense (Tex. Prop. Code § 92.156).
- Count keys, fobs, garage remotes and mailbox keys.
- Replace filters and note meter readings for utilities that transfer.
Walk through and record the condition
Walk every room with the renter if you can. Take dated photos or video of walls, floors, fixtures, appliances, windows and doors, and note existing damage in writing. Several states set rules for this record:
- Washington: you may not collect a deposit unless the lease is in writing and you give the tenant a signed, dated checklist or statement describing the unit's condition at the start of the tenancy (RCW 59.18.260).
- Virginia: within five days after move-in, give the tenant a written report itemizing existing damage; it stands unless the tenant objects in writing within five days after receiving it (Va. Code § 55.1-1214(A)).
- Michigan: if you require a deposit, give the tenant two blank copies of a move-in inventory checklist; the tenant returns one completed copy within 7 days (MCL 554.608).
- Arizona: give a move-in form for listing existing damage and written notice that the tenant may be present at the move-out inspection (A.R.S. § 33-1321(C)).
- California: for a tenancy beginning on or after July 1, 2025, photograph the unit immediately before, or at the start of, the tenancy (Cal. Civ. Code § 1950.5(g)).
Hand over keys and information
- A signed key receipt listing every key, fob and remote.
- How and when to pay rent, and the late fee terms.
- How to submit maintenance requests and what counts as an emergency.
- Where the water shutoff and electrical panel are.
- Trash and recycling days, parking rules and any building rules.
- How you give notice before entering the home.
Handle the deposit correctly
Some states set rules for where the deposit must be held:
- Florida: hold it in a separate account in a Florida financial institution, with or without interest, or post a surety bond and pay interest (Fla. Stat. § 83.49(1)).
- North Carolina: hold it in a trust account with a licensed, federally insured depository institution or authorized trust institution, or furnish a bond (N.C. Gen. Stat. § 42-50).
- New Hampshire: hold it in trust apart from your own funds, and pay interest if you hold it for a year or longer (RSA 540-A:6, II; RSA 540-A:6, IV).
The first week after move-in
Check in after a few days to ask whether anything is not working, and fix early problems quickly. Collect the renter's notes on the condition of the home by your state's deadline. In New Hampshire, when you receive a deposit you must tell the tenant in writing that conditions needing repair should be noted on the receipt or given to you in writing within five days of moving in (RSA 540-A:6, I(b)). Store the lease, disclosures, receipts, photos and condition report together.
How Rentari helps
In Rentari, the signed lease and its documents stay on the lease, and renters can submit maintenance requests and message you from day one. Rent collection with autopay and receipts starts with the first payment, and renters insurance is available to your renters.
Sources and further reading
- EPA: Lead-based paint disclosure rule for sales and leases
- Mass. G.L. c. 186, § 15B: security deposits (Massachusetts)
- Tex. Prop. Code chapter 92: residential tenancies (Texas)
- RCW 59.18.260: move-in checklist (Washington)
- Va. Code § 55.1-1214: move-in inspection (Virginia)
- MCL 554.608: inventory checklist (Michigan)
- A.R.S. § 33-1321: move-in form (Arizona)
- Cal. Civ. Code § 1950.5: security deposits and photos (California)
- Fla. Stat. § 83.49: deposit money (Florida)
- N.C. Gen. Stat. § 42-50: deposits held in trust (North Carolina)
- RSA 540-A:6: security deposits (New Hampshire)
Also online: Rental move-in day checklist for landlords
Chapter 3 Welcome new residents with a clear move-in handoff
Give residents the information they need to settle in, pay rent, and report a problem. A useful welcome combines a condition record, working access, and a short written handoff.
Walk the home together
Confirm the full address and unit, the handover time, and who is receiving access. Inspect the rental using a room-by-room condition record. Note existing damage and unresolved work, invite corrections, and give the resident a copy. Record a reported defect separately from its repair completion.
Show the location and safe use of ordinary controls, exits, and equipment. Give appliance instructions and emergency contact information. Refer specialist or unsafe equipment questions to the appropriate contractor rather than asking residents to investigate themselves.
Give a practical welcome sheet
- Access: list the keys or credentials supplied, permitted recipients, and how to report a lost key or access problem. Share private credentials through an appropriate secure channel.
- Payments: confirm the agreed amount, due date, permitted payment methods, any disclosed charges, receipt process, and where to ask for help. Test that the resident has received the correct account invitation without exposing another household's information.
- Repairs: distinguish the routine request channel from the after-hours emergency process, and state the contact details and information to include.
- Daily use: cover utilities, waste collection, parking, shared areas, and responsibilities already established by the agreement and applicable rules. Explain rather than add new obligations at handover.
Keep the welcome considerate
A small optional welcome item or useful local information can be a friendly gesture. Consider allergies, animals, accessibility, and household preferences before giving food, cleaning chemicals, or scented products. Gifts do not replace repairs or change the rental terms.
Respond to requests respectfully. Separate an urgent condition, a promised repair, a disability-related request, and an optional improvement so each reaches the right process. Confirm any commitment in writing, with a responsible person and follow-up date.
Send a short follow-up
Use this structure for the handoff message: welcome the household; identify the rental and handover date; link the condition record; provide payment help and routine/emergency repair contacts; list open work and its next update; invite questions through the agreed channel. Keep access codes and sensitive documents out of a group email.
Check shortly after move-in that essential access and services work. Record the response, outstanding items, and completion evidence. Keep the welcome sheet alongside the signed lease and move-in records.
Maintain one accurate handoff for this tenancy
Keep the signed agreement, condition record and practical household guide distinct. Review utility suppliers and setup responsibilities, waste and parking arrangements, permitted shared areas, appliance instructions and routine versus emergency contacts. Include HOA information only after checking what applies to this rental. Never ask a resident to investigate unsafe equipment or use a guide to impose a new lease obligation.
Date the guide, identify the correct rental and tenancy, name who maintains it, and give residents a way to report an error. Restrict private access credentials and other households' information. Before a change, review the actual facts; afterward, tell affected residents what changed and confirm they can access it. A stored or edited document does not establish delivery, notification or understanding.
Confirm the household received the current version
Before handing over the welcome sheet, confirm the rental, tenancy, intended recipients and appropriate language or accessible format. Review the actual lease information and contact details; copied or automatically filled information still needs checking. Keep private credentials separate from an ordinary household guide.
Use the supported document or communication channel for this household, then retain the version and sharing record. Ask residents to confirm access and explain how to report an error. When changing important instructions, tell affected residents what changed; editing a saved document alone does not prove a notification was sent or read. Keep the signed lease, condition report and practical instructions as distinct records.
Rentari's written guide supports an owner-led handoff. It does not establish an automatically generated, continuously shared home manual. Check the actual document and message workflow before relying on an automatic delivery or update.
Also online: Welcome new residents with a clear move-in handoff
Chapter 4 Rental property management after the lease is signed
A signed lease starts the day-to-day work of managing a rental. Use a consistent handoff, communication, payment, repair, and record routine while checking the agreement and rules for the property.
Make the signed lease a clear handoff
Keep the final signed lease and addenda together with the agreed start date, occupants, rent amount, due date, payment instructions, and contact method. Record what was actually received, including any deposit or prepaid amount, and keep the transaction evidence with the property ledger.
Before move-in, complete the condition record, identify supplied keys and access devices, share routine and urgent contact instructions, and assign each known follow-up item to a person. The handoff is complete when the resident can use the home and knows how to report a problem, not merely when a packet has been sent.
Respond to residents and requests
Use an agreed channel and keep messages factual, respectful, and tied to the rental. Acknowledge a report, ask only for details needed to understand it, and set a realistic next update. Separate an immediate safety concern from a routine question so that a weekly review never delays an urgent response.
For a complaint or repair, record the date, location, reported condition, action taken, person responsible, and the next check-in. Follow up after a visit or proposed fix to confirm what remains open. Keep private household details out of general task notes and share them only with people who need them.
Reconcile rent, deposits, and expenses
Compare the lease schedule with actual payments and post receipts against the correct household and period. Investigate an unmatched transfer before sending a balance reminder. Check the lease and current local requirements before assessing a fee, delivering a notice, or treating a balance as a default.
Track refundable deposits separately from ordinary operating cash and follow the actual jurisdiction's rules for holding, accounting, and return. Record property expenses with their date, amount, vendor, purpose, and receipt. IRS Publication 527 explains federal rental-income and expense reporting, but tax treatment depends on the facts; consult a qualified tax professional about a particular return.
Coordinate repairs, inspections, and access
For each repair, log the reported issue, urgency, steps taken, vendor or responsible person, appointment, resident update, and confirmation of the result. Keep preventive work and recurring equipment service on a property-specific calendar. A scheduled inspection is not a substitute for responding to a new hazard.
Before entering, check the lease and the rules that apply to the location, purpose, and circumstances. Notice periods and exceptions vary; do not assume one number, including 24 hours, works nationwide. Coordinate a permitted time, preserve quiet enjoyment, and document the basis and completion of access. Use qualified help for work that requires it.
Keep records another person can follow
Maintain a current property file with the signed lease and changes, move-in condition evidence, payment ledger, receipts, repair history, vendor documents, relevant insurance records, resident messages, and copies and delivery evidence for notices. Use clear dates and identify which unit each record concerns.
Limit access to sensitive application, identity, banking, and household information. Use the retention period required for the record and check for a dispute, tax, insurance, or legal hold before deleting it. A complete file shows what happened and what remains unresolved; a folder full of unsorted uploads may not.
Review open work on a steady schedule
At a regular review, check urgent exceptions first, then verified deadlines, unpaid or unmatched items, open repairs, promised resident updates, upcoming visits, and renewal or notice dates. Give every unfinished item an owner and next action. Close it only when the outcome is confirmed, not when a message is sent or a contractor appointment is booked.
Add seasonal maintenance and insurance or equipment renewals to the calendar that fits the building. The review creates continuity; it does not replace immediate action, a legally required deadline, or qualified professional advice.
Match the workflow to the support you use
Rental software can help organize leases, communications, payment records, and follow-up tasks. Written guides can help you prepare questions and find the right next step. Neither removes the need to verify information, respond to a resident, arrange qualified work, or follow the actual agreement and local law.
Rentari provides rental software and written guides. It does not provide tenant placement or licensed, full-service property management. If you hire a manager, confirm the provider's current services, authority, licensing where required, fees, and responsibilities in the agreement.
Sources and further reading
Also online: Rental property management after the lease is signed
Chapter 5 A Signed Lease but an Incomplete Move-In: Find the Missing Step
A hypothetical owner sees a signed document and marks onboarding complete. On move-in day, the resident has no copy, does not know the entry procedure, and cannot find the payment instructions.
Identify what is actually complete
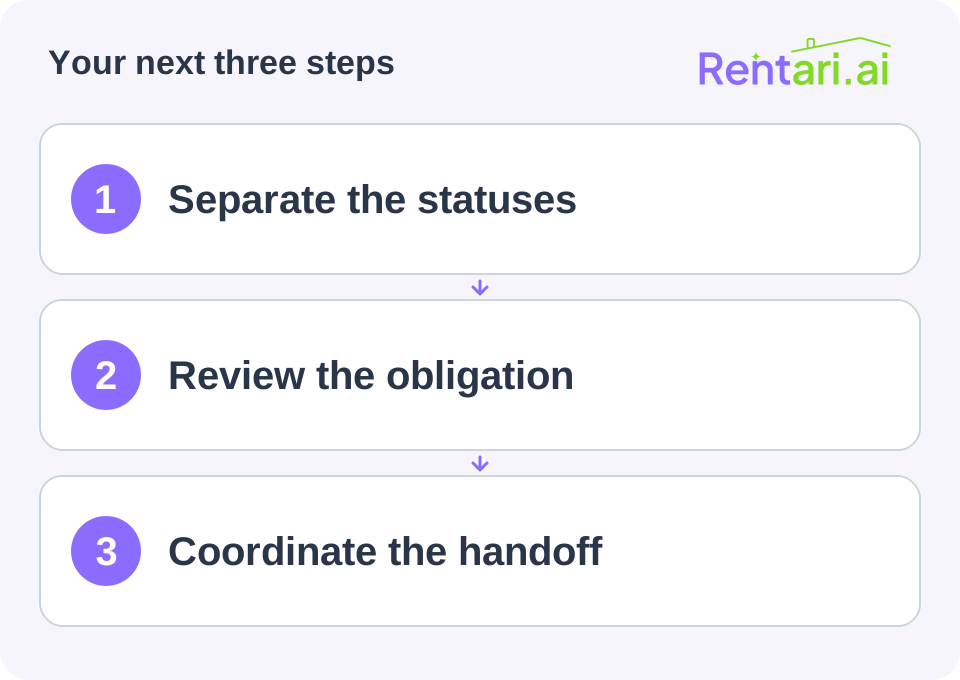
The signature platform shows the resident signed, but another required signature is pending. The owner checks the full packet and actual agreement status rather than assuming one event settled every obligation.
The payment record also says initiated. It is not changed to received simply to make the checklist green.
Resolve the immediate handoff carefully
The responsible manager reviews the agreement and local possession requirements, coordinates outstanding steps, and communicates accurate instructions. They do not invent a new access condition on the spot.
The resident receives the appropriate documents, contact route, and payment guidance through a method they can use.
Improve the completion definition
The team replaces its single onboarding checkbox with separate document, payment, condition, and handoff statuses. Each has a named owner and evidence of completion.
This example is about operational clarity, not determining the legal effect of an incomplete signature sequence. For your own process, list the evidence required for each status. Completion should describe what has happened, not what the team expects to happen later.
Continue with a related task
Also online: A Signed Lease but an Incomplete Move-In: Find the Missing Step